
On the product page, scroll down and click “Customize.” Please note that a minimum of 2 items must be selected to proceed—this helps us reduce fabric waste.
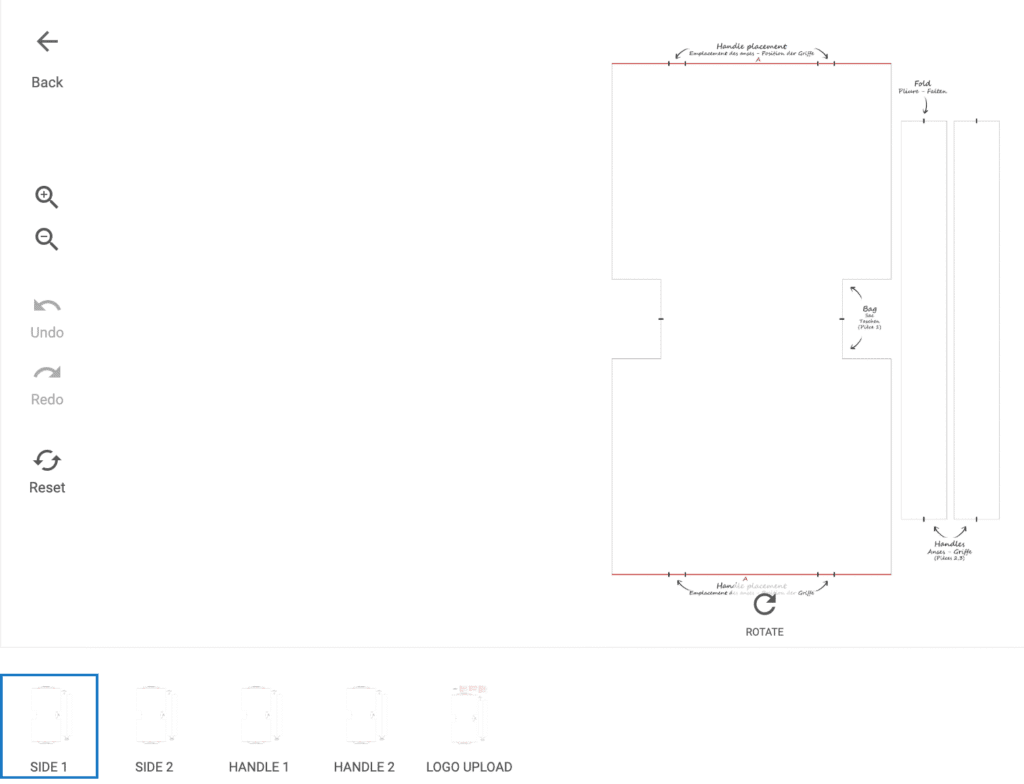
Once you enter the configurator, you’ll find five icons at the bottom left. Each one represents a different layer — corresponding to the five customizable parts of your tote bag.
To begin, simply click on the first icon.
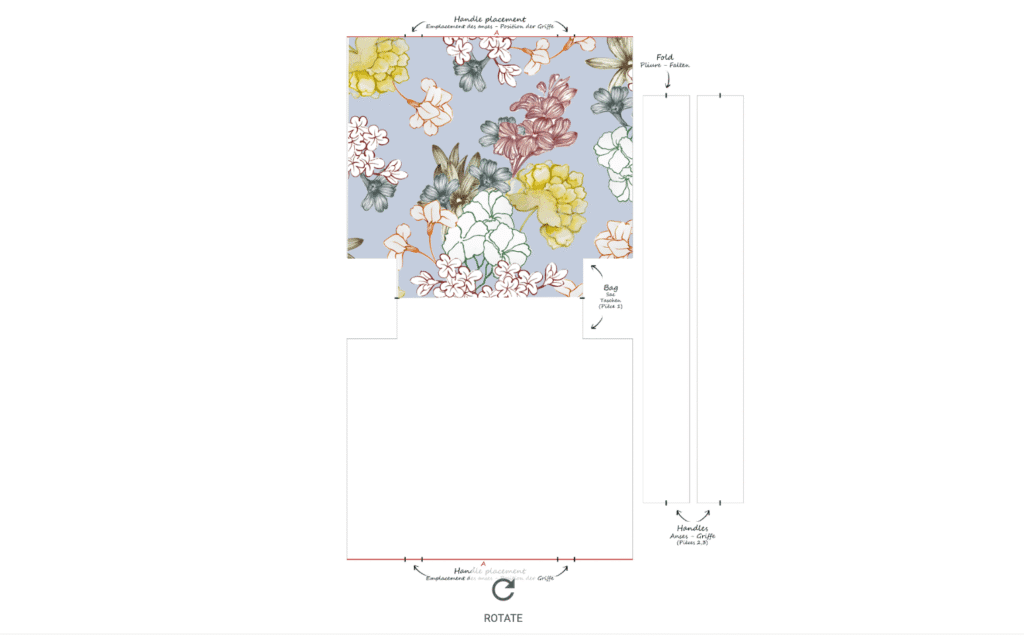
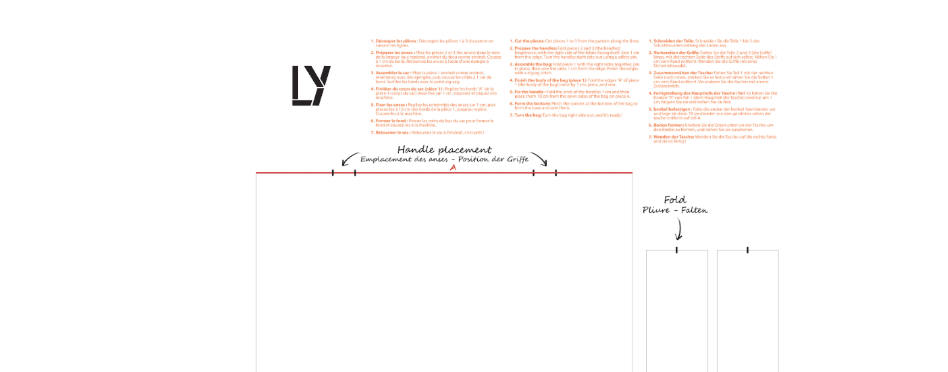
The first icon represents Side 1 of the tote bag (the front side).
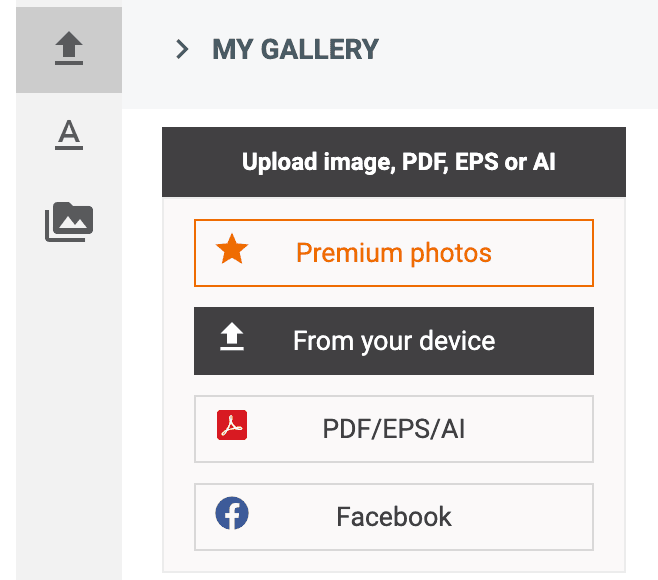
Simply upload your design on the right, then repeat the process for the following layers.
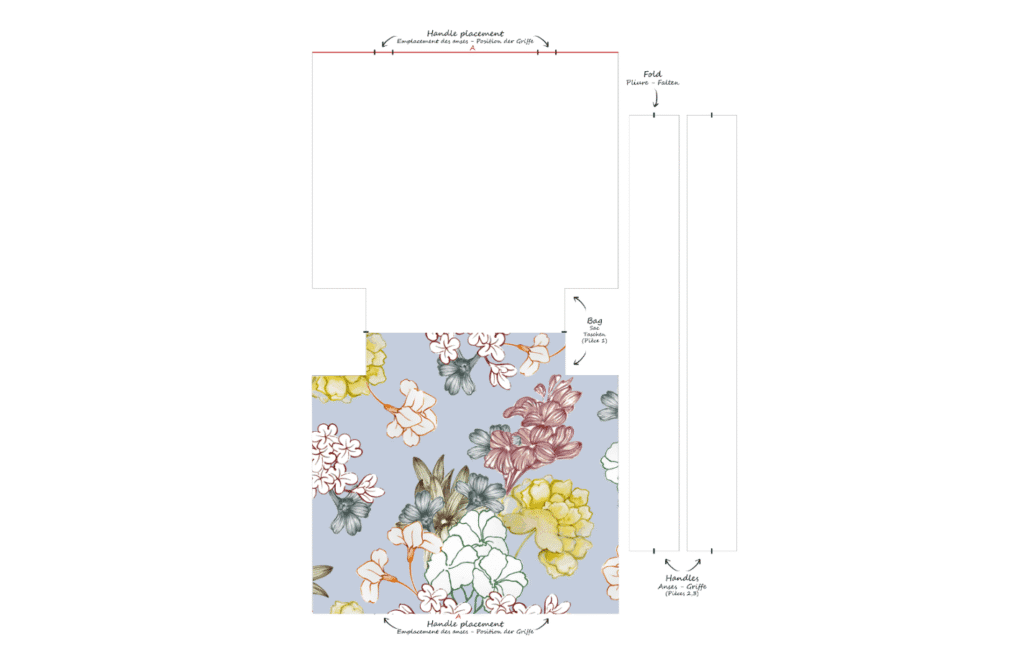
The second icon represents Side 2 of the tote bag (the back side).

Click the third icon to customize the first handle of your tote bag.
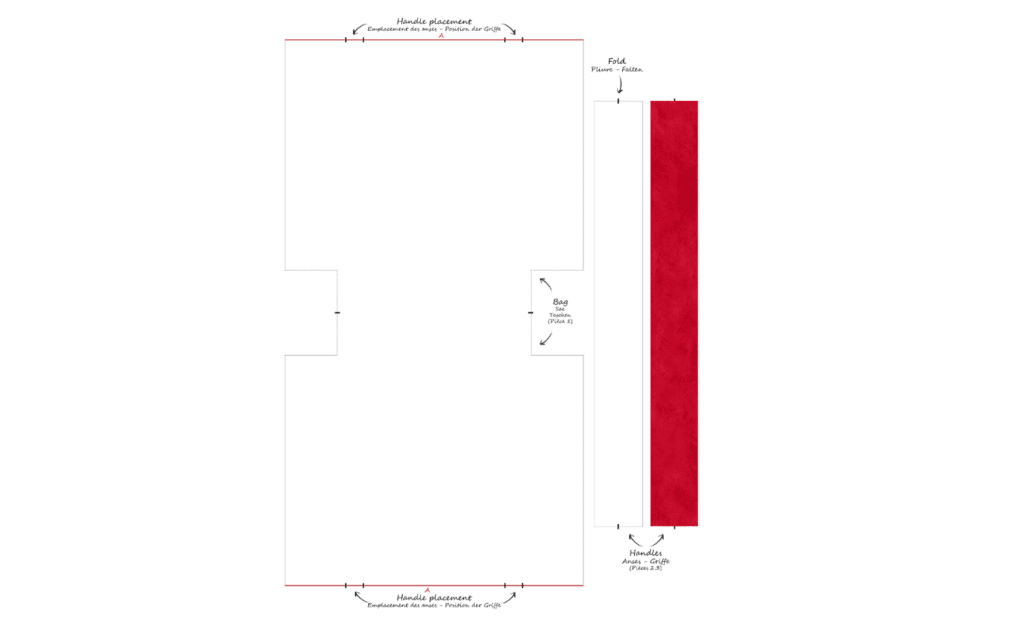
The fourth icon allows you to personalize the second handle of your tote bag.
The last icon corresponds to the logo layer, where you can choose the placement of your own logo next to the sewing instructions.